Welcome back to our project of creating a completely self-sufficient water purification system aboard our wide beam canal boat! In the first part of this series, we successfully installed stage one of our OffGridWater system. That initial setup, with its six filters and UV treatment, takes raw canal water and makes it clean enough to fill our main tank. At that point, the water is almost drinkable, but for true peace of mind and ultimate purity, we knew we couldn’t stop there. This is where the exciting final steps come in: installing Stages Two and Three to make our water safe for everything from showering to drinking directly from the tap.

Stage Two: Ultrafiltration
The second stage of our system is known as an ultrafiltration unit, which purifies all the water that comes out of our tanks and into the boat’s main plumbing. This setup consists of three additional filters: a granular activated carbon filter, another carbon block filter (similar to the one in stage one), and the star of the show, the ultrafiltration membrane. This final filter is incredibly fine, capable of removing particles as small as 0.01 microns. We wanted to ensure that the water we use for daily tasks, such as showering and brushing our teeth, is as clean as possible, and this stage makes that a reality.
Initially, we had planned to install this unit under the kitchen sink along with stage three, but we quickly ran into a tangled web of plumbing. We have a mix of 15mm John Guest and hep2o fittings alongside standard British imperial (BSP) measurements, and it was becoming a real headache. After a quick chat with Damian from OffGridWater, he gave us some invaluable advice: simplify things by installing Stage Two immediately after our boat’s main water pump and accumulator tank. This not only made the plumbing easier but also meant every drop of water entering our boat’s system would be ultra-filtered.

The biggest practical challenge was finding the right location. We located our water pump and accumulator hidden away underneath the step leading up to our bow. After removing the step, we could see the layout and identify the hep2o piping coming from the accumulator. The plan was to simply cut into this line, routing the water out through the stage two filters and then back into the system. While the space was tight, we found that we could mount the filter housing at a slight upright angle—a necessary compromise to ensure we could still press the air release buttons on top of the housings if any air gets trapped.
Stage Three: Reverse Osmosis for Pure Drinking Water
With all our general-use water now passing through the ultrafiltration system, it was time to tackle the final stage for our drinking water: reverse osmosis (RO). For those who have followed us since our sailing days, you’ll know we’re familiar with RO systems, which are commonly used to turn saltwater into fresh water. The principle is the same here. The OffGridWater unit uses high pressure to force water through two special membranes. Water molecules are among the smallest particles, so only they can pass through, leaving everything else behind. This “waste” water, which is still very clean, is simply emptied back into the canal.

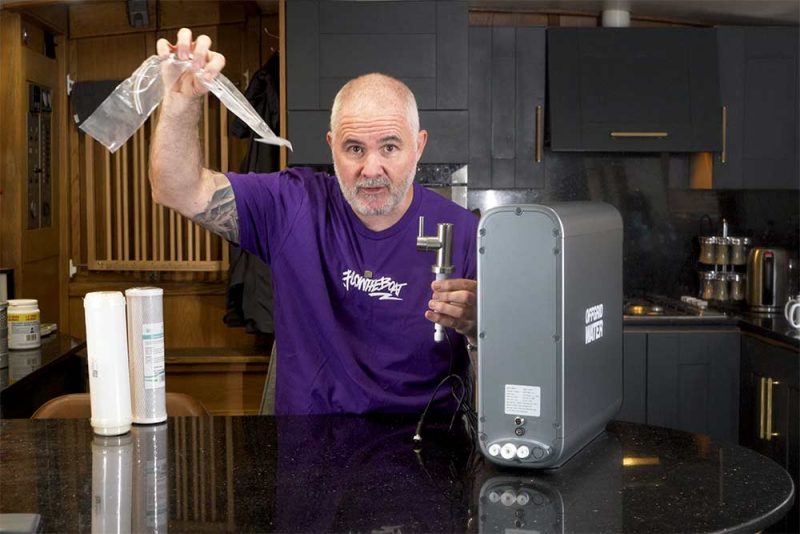
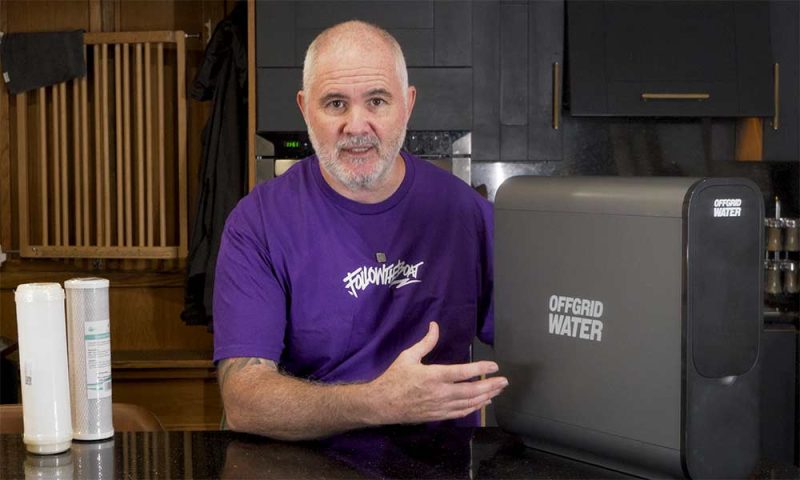
This compact unit is designed to sit neatly under the sink. It’s incredibly user-friendly, with front-loading membranes that can be twisted and pulled out for easy replacement, which we expect to last for years. The back of the unit has three simple connections: one for the incoming water from our main system (which has already been through stages one and two), one for the wastewater outlet, and a final one for the purified drinking water.
One of the most impressive features of this kit is the supplied drinking water tap. It’s not just a standard tap; it’s powered and connects directly to the RO unit. An integrated light on the tap’s base glows blue when the water quality is perfect and will turn red if there’s an issue. This is thanks to a built-in TDS (Total Dissolved Solids) sensor that constantly monitors the water, giving us a clear, instant indicator of its purity. It’s a genius feature that many household systems lack.

The installation under the sink was relatively straightforward. First, we ran an extension cable from a nearby socket (used for the dishwasher) to power the unit, ensuring it was pinned high and well away from any potential water. We then tapped into the 15mm cold water feed, using a push-fit adapter to run a flexible hose to the RO unit’s inlet. The wastewater outlet was connected to our sink’s drain via another hose, which we fitted with a one-way check valve to prevent any dirty sink water from ever flowing back into the system.

Finally, the purified water outlet was connected to the new, powered tap. We gave ourselves plenty of extra length on all the hoses, a small trick that allows us to pull the entire unit out from under the sink for maintenance without having to disconnect everything. It might look like a mess of pipes under there, but it’s a logical system: three hoses and a power cord. In the future, we may even add a final re-mineralization filter to add beneficial minerals back into the water, but for now, the setup is complete.
Conclusion: Total Water Confidence, Off-Grid
With all three stages of the OffGridWater system now installed, we have achieved something truly remarkable for life on a canal boat: complete water independence and confidence. From pulling murky canal water into our tanks to having crystal-clear, purified water coming directly from our drinking tap, every step is now managed by a robust, multi-stage system. The peace of mind this gives us is immeasurable, knowing that our water is not just drinkable, but exceptionally clean and safe for every possible use.
In the next part of this series we will be running the entire system and testing the water at each stage. Meanwhile, check out the video below for a discussion on Stages 2 and 3.
If you like our content and would like to support us, we will give you ad-free access to our videos before they go live to the public, discounts in our shop, access to Jamie’s iconic full-res photographs, and supporter-only blog posts. Click our ugly mugs for more info!