


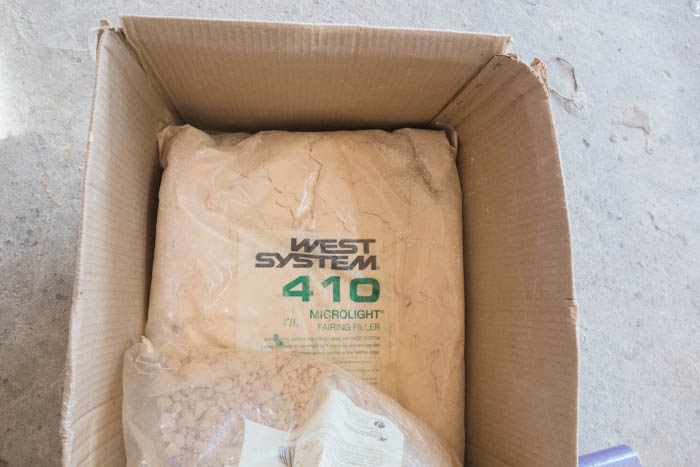
The osmosis treatment continues with West System 410 Microlight applied to the hull. Pong, head carpenter, begins the task of shaping the toe rail whilst trying to maintain the bend in the wood!
Weekly Video Round-Up
Now that Jamie’s back in the UK this week’s clip was filmed entirely by Liz. She was so keen she uploaded over an hour of footage that Jamie struggled to edit down to 20 minutes. It’s our longest clip yet but it’s all good…
[youtube id=”Z5IA-qhYUi0″ width=”600″ height=”350″ autoplay=”no”]
Osmosis Treatment With West System Microlight 410
Time for more icing sugar. This time we’re mixing West System’s Microlight 410 balloons to our epoxy and applying over the top of the biaxial fibreglass. It’s a process that has to be done quickly before the epoxy dries, and it’s put on like icing sugar.
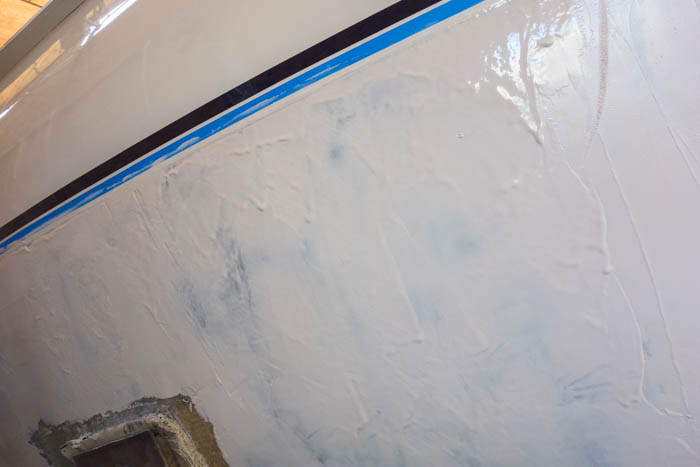

After the epoxy has dried, it’s sanded back before the pits and dents are filled once more.

Toe Rail Fitting
The toe rail has been put under weights for over a month now, so the teak is nicely bent to shape. Now Pong must try and keep the bend and fit each piece. Remember we no longer have one continuous toe rail. Instead we’ve broken it up.


The toe rail also requires around 70 bolts, which are being made to measure by the stainless workshop.

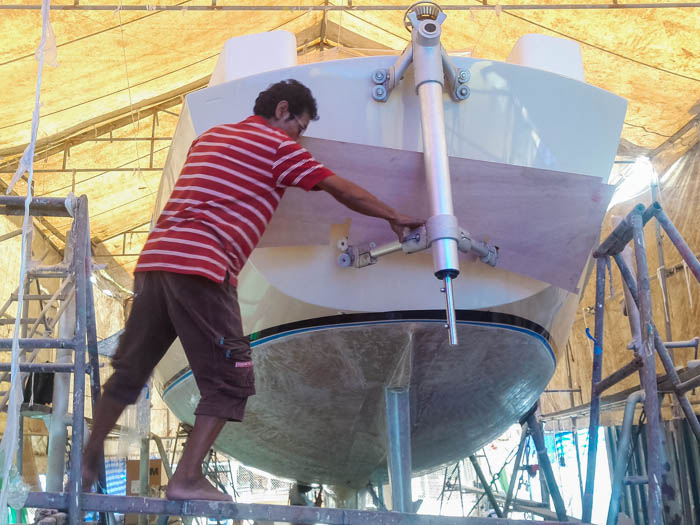
Swim Platform Template
Pong’s also been busy with the swimming platform. He’s cut a template out which will give the stainless guys a template to work from, as well as a guide for himself when he comes to cut the planks.
Fridge Door
One of the annoying features of our main fridge door was that it was divided in two, allowing you to open one side or the other. This was completely impractical so we’ve stuck it together by epoxying teak struts across it.

Eventually it’s fared and will then be filled and painted too.

Wilson Art Thick Laminate
The fridge door will eventually have a thick 8mm laminate put on top of it. This will be the same laminate as the galley sinks and also the heads floor too. It’s made by Wilson Art, the same manufacturer as our wall laminate, and is designed for hard-wearing surfaces. It’s a mock soap-stone effect and looks rather splendid.

Electrics
Dean, Sombat’s assistant, has begun feeding the light cable through the ceiling and bulkheads. He’s got his work cut out for him but he’s taking each section at a time.


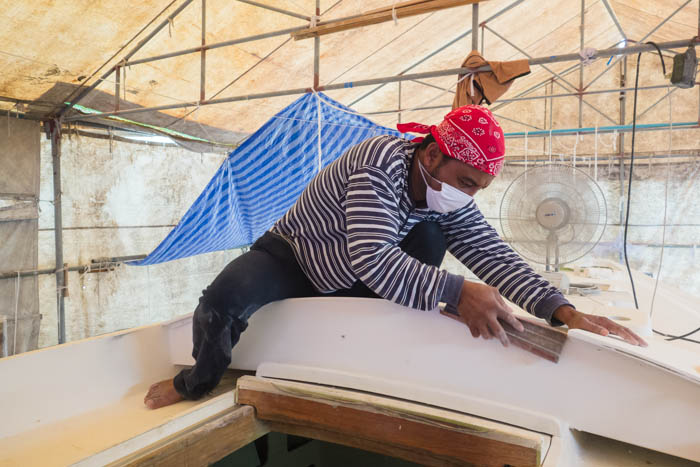
Paint Team On The Deck
The paint team, having completed the topsides, are now working on the deck. That includes that cockpit box that has now been filled with microballooned epoxy and will be fared into shape. More on that in the video.
What’s Next?
Difficult to know what with me being thousands of miles away from the project but I suspect we’ll see that hull sanded back in preparation for the Jotamatic 87 application. The paint team should almost be ready to apply the top coat of Awlcraft Snow White and I’m hoping that toe rail will be near completion too.
If you like our content and would like to support us, we will give you ad-free access to our videos before they go live to the public, discounts in our shop, access to Jamie’s iconic full-res photographs, and supporter-only blog posts. Click our ugly mugs for more info!

Now that the Crown of Thorns is finished for the season you have almost become our number one viewing video. However the American version of House of Cards has beaten you out. When that comes to an end then you may make it to number !!
Good work. We love the story….All the best
Great job, guys! Esper will look like new when all finished! Good luck! xxxx
Hi Guys,
You are doing very well indeed. I thought I had it tough replacing a cockpit manual bilge pump which is accessed from above the engine. I admire your tenacity. When all this is over you can have a breakdown!
By the way, when you took out the bulkhead in the fwd loo for Liz’s office, is there any flexing of the deck?
Keep it up,
Bob and Maureen. 435/25 ketch
Hi Bob. We should be ok. I stomped and stamped my way around that deck, and we’ve had countless workers moving up and down it for months, and it all seems ok. However the wall wasn’t a bulkhead, it was a thin dividing wall, so we figured we’d be ok anyway. I was more concerned with removing the dorade vent and the gaping hole we left there. Again, however, I jumped around on it so it should be good.
I own a 1981 Bob Perry 47 Ketch, wich I bought 9 years ago. I spent 6 years refiting the entirely boat like you. I applyed COPPERCOAT after 3 layers of epoxy 6 years ago. No more hull treatments after that. I strongly recomend this treatment but you must follw the instructions strictly. I live in Portugal and the boat spend half of his life in Rio Guadiana and the other half in Atlantic and Mediterraneum. Always warm waters.
I wish you the best winds.
Joao
the queen did good. bryan maureen flying greece next week with new indian visa.see u next year